
In this article I'll describe the installation of Oracle 10g Release 2 Grid Control on Red Hat Enterprise Linux. The article is based on a server installation with a minimum of 2G swap, secure Linux disabled and the following package groups installed:
- X Window System
- GNOME Desktop Environment
- Editors
- Graphical Internet
- Text-based Internet
- Server Configuration Tools
- Development Tools
- Administration Tools
- System Tools
The Oracle 10g Grid Control allows you to monitor all aspects of your infrastructure including database and application servers. A complete installation includes a repository in a 10.1.0.4.0 database
The grid control uses agents on each server to enable monitoring and interaction. As a result, once the grid control is installed it is necessary to install an agent on each server we wish to monitor.
The grid control uses agents on each server to enable monitoring and interaction. As a result, once the grid control is installed it is necessary to install an agent on each server we wish to monitor.
The step involved is given as follows:
- Download Software
- Unpack Files
- Hosts File
- Set Kernel Parameters
- Setup
- Grid Control Installation
- Starting and Stopping Grid Control Services
- Agent Installation
- Starting and Stopping Agent Services
Download Software
Download the following software:
If we are monitoring servers on different platforms the relevant agents must be downloaded.
Unpack Files
First unzip the grid control installation files:
unzip Linux_Grid_Control_full_102010_disk1.zipunzip Linux_Grid_Control_full_102010_disk2.zipunzip Linux_Grid_Control_full_102010_disk3.zipHosts File
The /etc/hosts file must contain a fully qualified name for the server:
<IP-address> <fully-qualified-machine-name> <machine-name>Set Kernel Parameters
Modify the /etc/sysctl.conf file to include the lines appropriate to your operating system:
# Red Hat Enterprise Linux 4.0 kernel.shmmax = 536870912kernel.shmmni = 4096kernel.shmall = 2097152# semaphores: semmsl, semmns, semopm, semmnikernel.sem = 250 32000 100 128fs.file-max = 65536net.ipv4.ip_local_port_range = 1024 65000net.core.rmem_default=262144net.core.rmem_max=262144net.core.wmem_default=262144net.core.wmem_max=262144Run the following command to change the current kernel parameters:
/sbin/sysctl -pDisable secure linux by editing the /etc/selinux/config file, making sure the SELINUX flag is set as follows:
SELINUX=disabledAlternatively, this alteration can be done using the GUI tool (Applications > System Settings > Security Level). Click on the SELinux tab and disable the feature.
Setup
The documentation states that the following packages are required by the relevant operating systems:
# Red Hat Enterprise Linux 4.0 glibc-2.3.4-2.9make-3.79binutils-2.15.92.0.2-13gcc-3.4.3-22.1libaio-0.3.96glibc-common-2.3.4-2.9setarch-1.6-1pdksh-5.2.14-30openmotif21-2.1.30-11sysstat-5.0.5-1gnome-libs-1.4.1.2.90-44.1libstdc++-3.4.3-22.1libstdc++devel-3.4.3-22.1compat-libstdc++-296-2.96-132.7.2compat-db-4.1.25-9control-center-2.8.0-12xscreensaver-4.18-5.rhel4.2Create the new groups and users:
groupadd oinstallgroupadd dbagroupadd oper useradd -g oinstall -G dba -s /bin/ksh oraclepasswd oracleCreate the directories in which the Oracle software will be installed:
mkdir -p /u01/app/oracle/product/10.2.0/oms10gmkdir -p /u01/app/oracle/product/10.2.0/db10gmkdir -p /u01/app/oracle/product/10.2.0/agent10gchown -R oracle:oinstall /u01Login as root and issue the following command:
xhost +<machine-name>Login as the oracle user and add the following lines at the end of the .bash_profile file:
# Oracle SettingsTMP=/tmp; export TMPTMPDIR=$TMP; export TMPDIR ORACLE_BASE=/u01/app/oracle; export ORACLE_BASEORACLE_HOME=$ORACLE_BASE/product/10.2.0/db10g; export ORACLE_HOMEORACLE_SID=emrep; export ORACLE_SIDPATH=.:/usr/sbin:#$ORACLE_HOME/bin:$PATH; export PATHPATH=$PATH:$ORACLE_HOME/dcm/bin:$ORACLE_HOME/opmn/bin; export PATHPATH=$PATH:$ORACLE_HOME/Apache/Apache/bin; export PATH PS1="`hostname`> "set -o emacsset filecGrid Control Installation
Log into the oracle user. If you are using X emulation then set the DISPLAY environmental variable:
DISPLAY=<machine-name>:0.0; export DISPLAYStart the Oracle Universal Installer (OUI) by issuing the following command in the installation software directory:
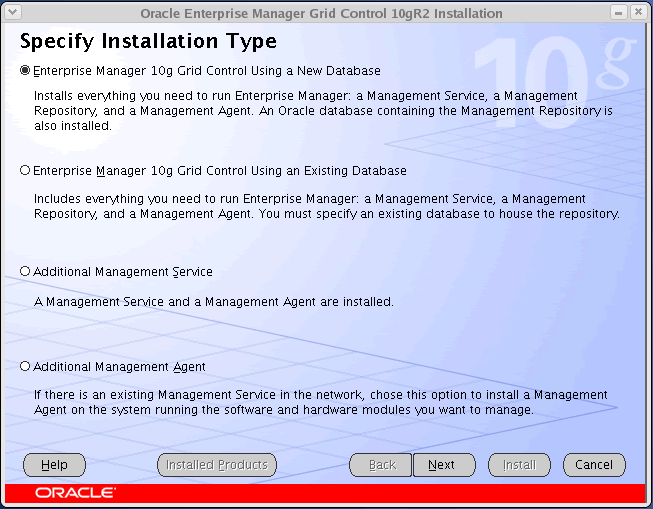
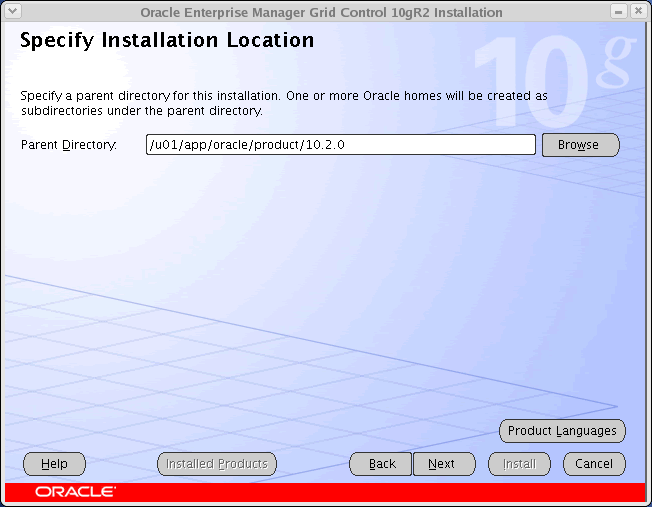
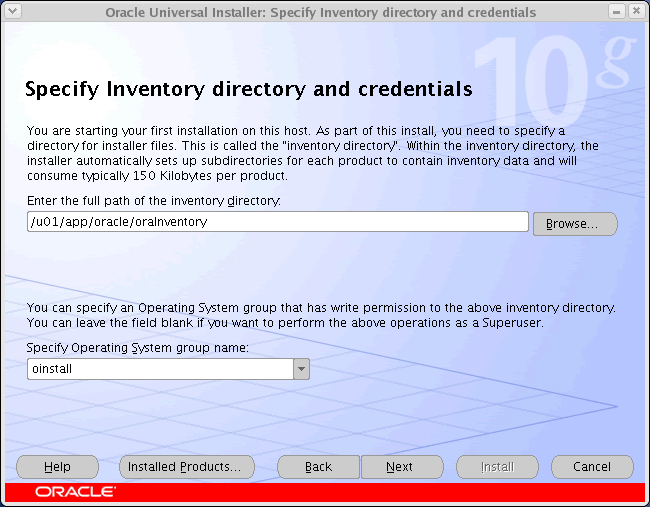
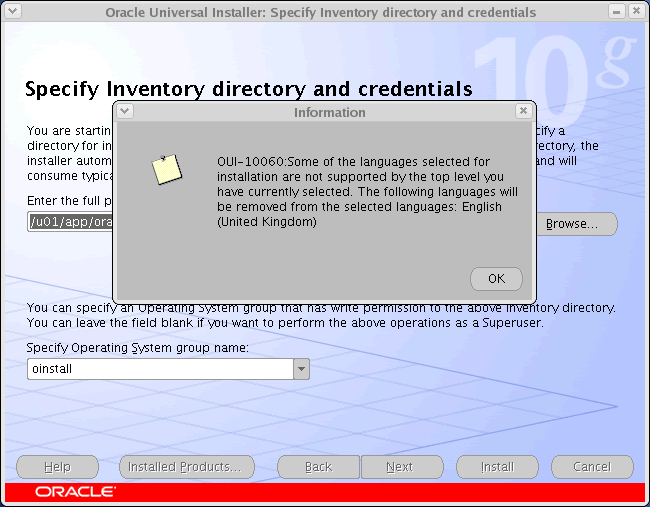
./runInstallerDuring the installation select the appropriate ORACLE_HOME for the grid control (oms) and select the new database option. The installation will automatically install an agent in the agent home. For a more detailed look at the installation process, click on the links below to see screen shots of each stage.
- Specifiy Installation Type
- Specifiy Installation Location
- Specify Inventory directory and credentials
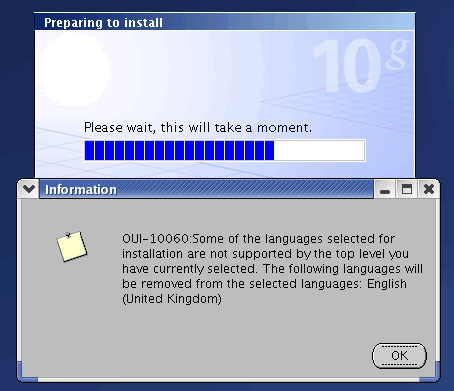
- Unsupported language message
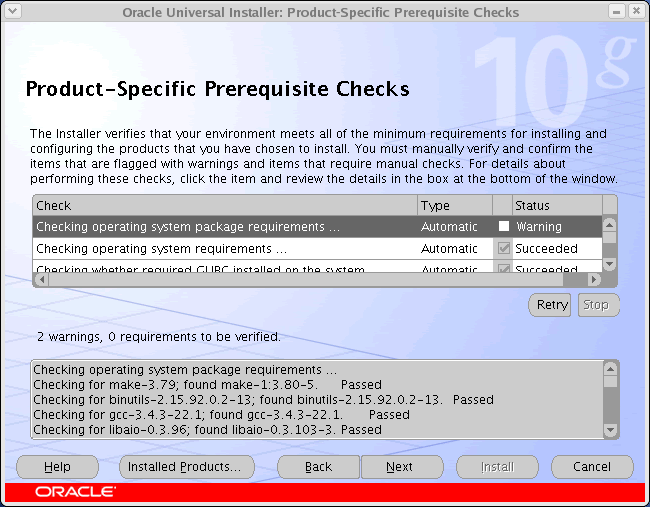
- Product-Specific Prerequisite Checks
- Prerequisite Check warning message
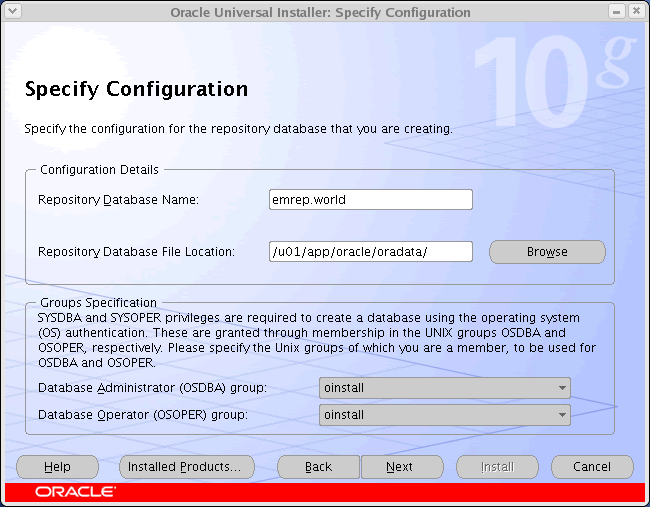
- Specify Configuration
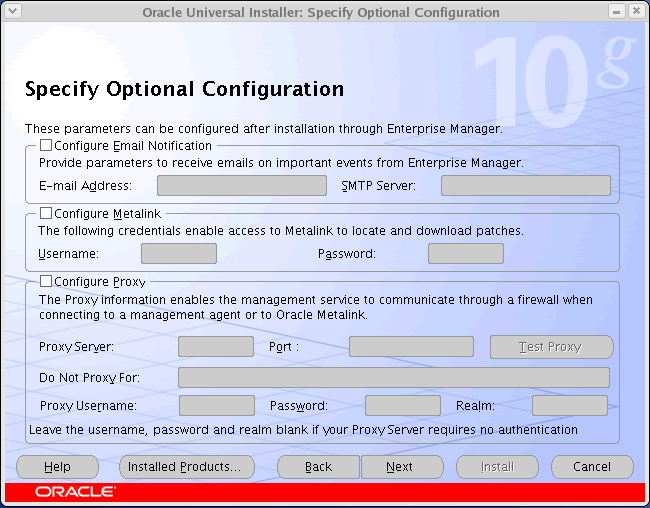
- Specify Optional Configuration
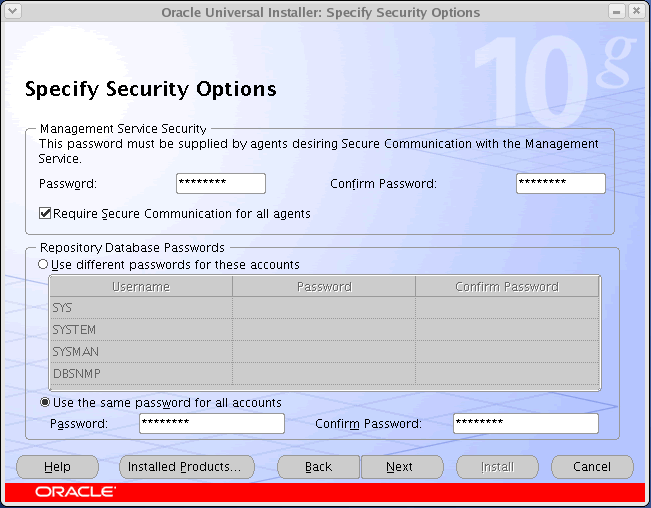
- Specify Security Options
- Summary
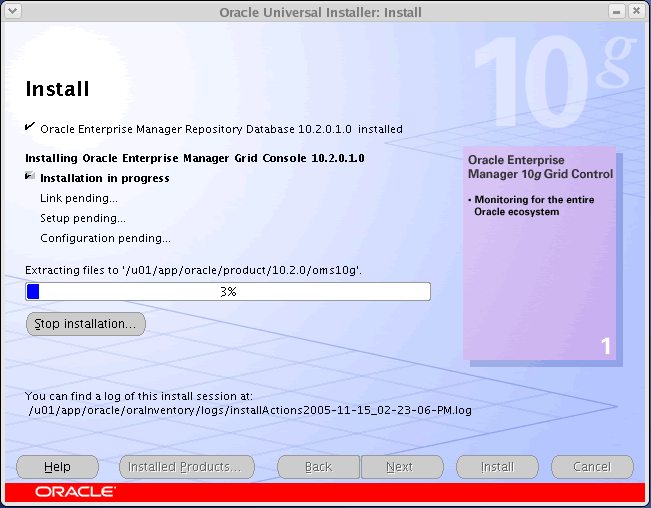
- Install - OEM Repository Database
- Install - OEM Grid Console
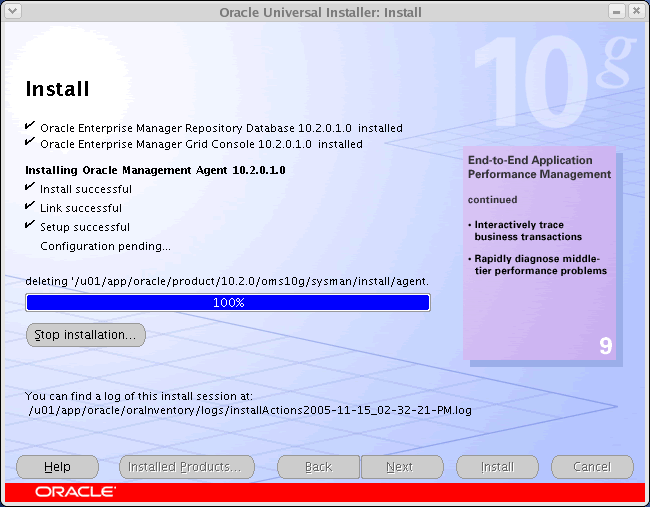
- Install - OEM Management Agent
- Execute Configuration scripts
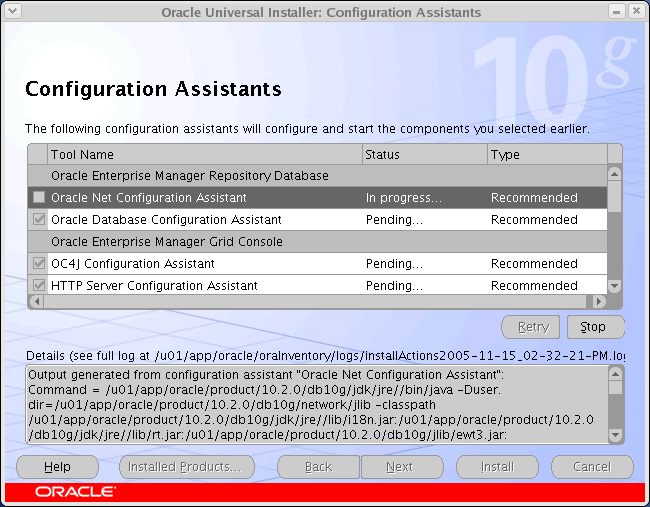
- Configuration Assistants (1)
- Configuration Assistants (2) - Database Configuration Assistant
- End of Installation
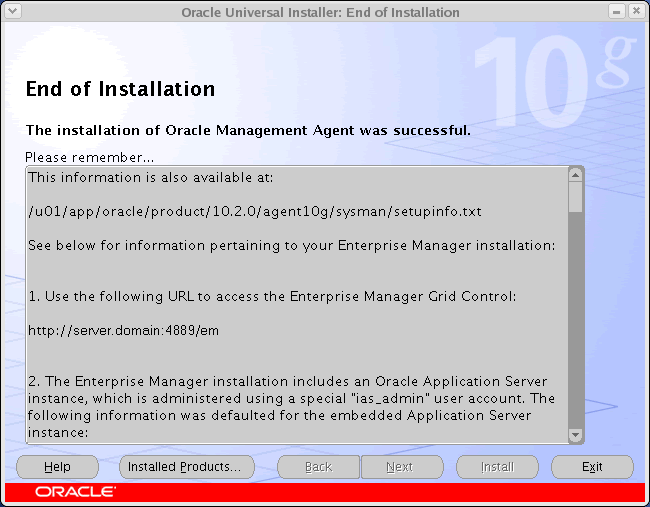
On completion the grid control will be available via a browser using the following style of URL:
http://<server-name>:<port>/emThe server name and port (typically 4889) should be adjusted to the values specified in the $ORACLE_HOME/sysman/setupinfo.txt files.
Starting and Stopping Grid Control Services
The following script shows how the whole grid control is started and stopped:
# Start everything/u01/app/oracle/product/10.2.0/db10g/bin/dbstart/u01/app/oracle/product/10.2.0/oms10g/opmn/bin/opmnctl startall/u01/app/oracle/product/10.2.0/agent10g/bin/emctl start agent # Stop everything/u01/app/oracle/product/10.2.0/agent10g/bin/emctl stop agent/u01/app/oracle/product/10.2.0/oms10g/opmn/bin/opmnctl stopall/u01/app/oracle/product/10.2.0/db10g/bin/dbshutThe
By default, the database supporting the repository is in
dbstart and dbshut commands require the "/etc/oratab" file to be editied to allow auto startup/shutdown.By default, the database supporting the repository is in
NOARCHIVELOG mode.Agent Installation
This agent installation assumes you are using a doing an installation on a Linux machine which already has a database or application server installed. As such there are no prerequisites as they should match those of the original product installation.
First, unpack the agent installation:
First, unpack the agent installation:
gunzip Linux_Grid_Control_agent_download_10_2_0_1.cpio.gzcpio -idmv < Linux_Grid_Control_agent_download_10_2_0_1.cpioIf one doesn't already exist, make an appropriate directory for the agent software to be loaded into, like:
mkdir -p /u01/app/oracle/productchown -R oracle:oinstall /u01Log into the oracle user. If you are using X emulation then set the DISPLAY environmental variable:
DISPLAY=<machine-name>:0.0; export DISPLAYStart the Oracle Universal Installer (OUI) by issuing the following command in the "./linux/agent" directory:
chmod -R u+x *cd linux/agent./runInstallerDuring the installation, select the "Additional Management Agent" option, enter the installation base directory of "/u01/app/oracle/product/10.2.0" and grid control srver when prompted. The agent will be installed in the "/u01/app/oracle/product/10.2.0/agent10g" directory. For a more detailed look at the installation process, click on the links below to see screen shots of each stage.
- Specifiy Installation Type
- Specifiy Installation Location
- Unsupported language message
- Product-Specific Prerequisite Checks
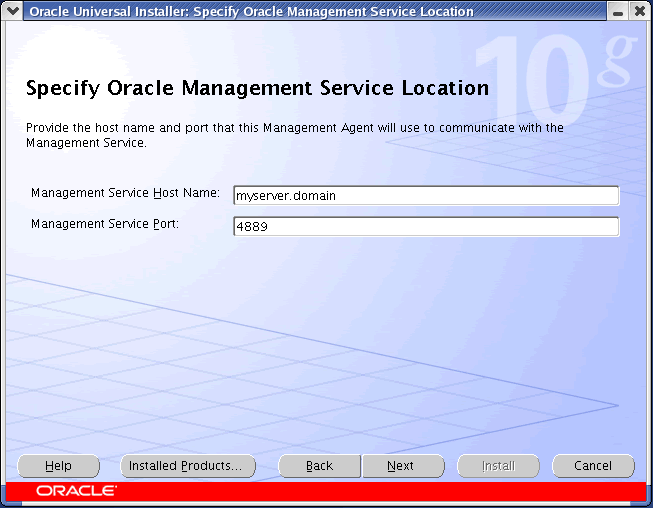
- Specify Oracle Management Service Location
- Specify Agent Registration Password
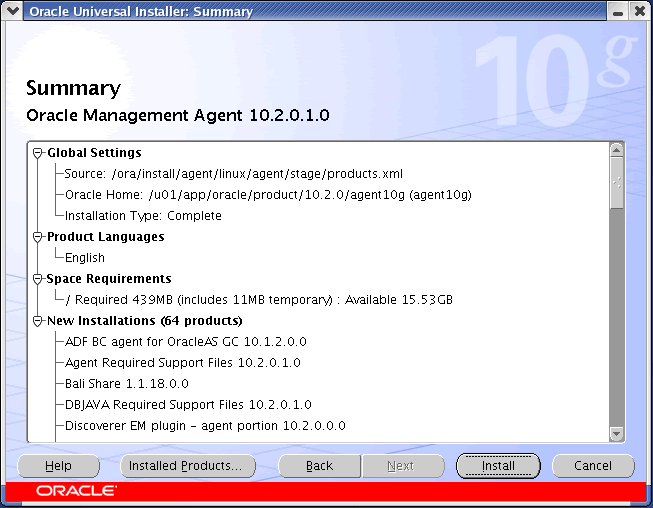
- Summary
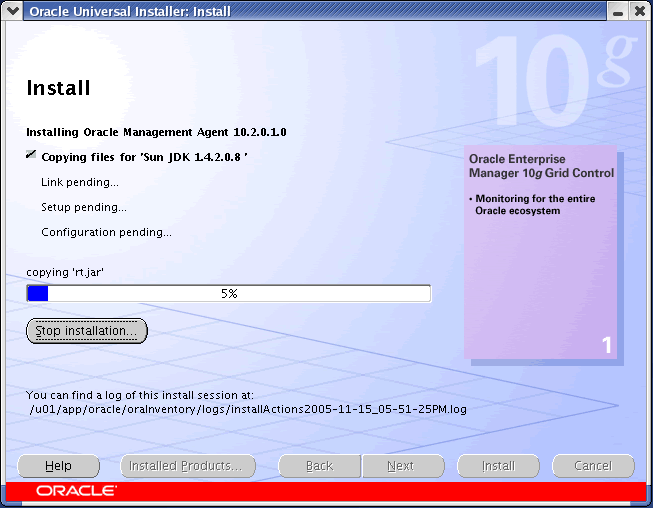
- Install
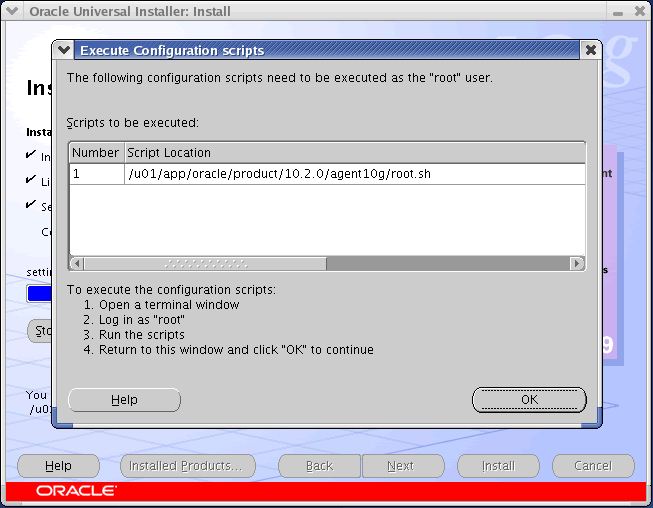
- Execute Configuration scripts
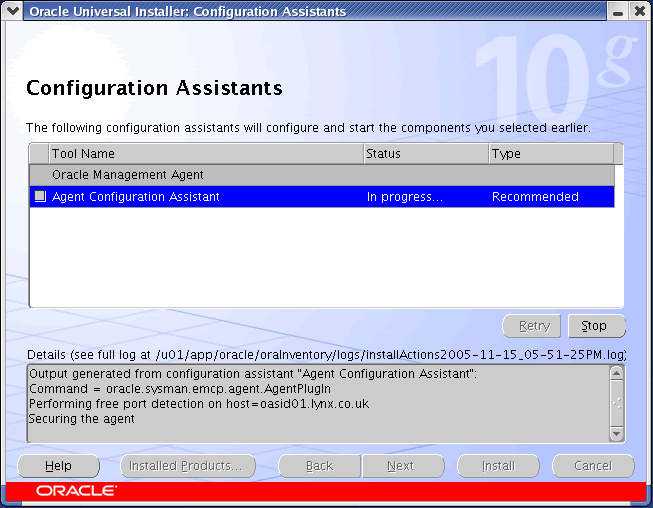
- Configuration Assistants
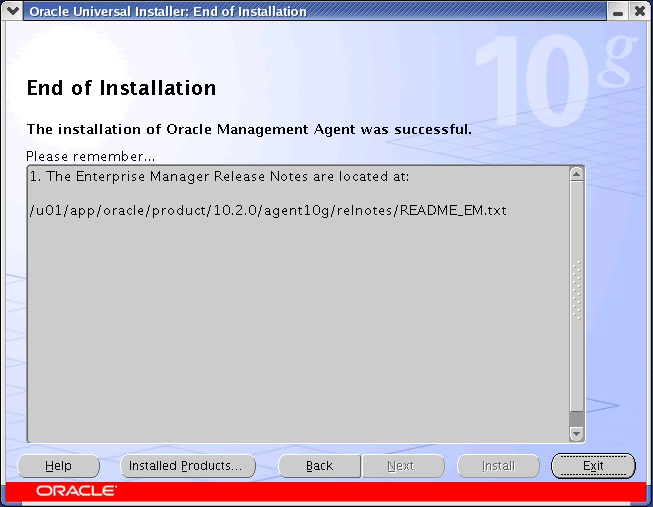
- End of Installation
With the installation complete the server should now be visible on the grid controls list of targets.
Starting and Stopping Agent Services
The following commands can be used to start and stop the agent:
# Start Agent/u01/app/oracle/product/10.2.0/agent10g/bin/emctl start agent # Stop Agent/u01/app/oracle/product/10.2.0/agent10g/bin/emctl stop agentFor more information see: